Hey everyone! 👋
I know it’s been an eternity (or at least it feels like it) since I last wrote about my little project: the Linux driver for the ST7920 display. First of all, I want to assure you that no, I hadn’t abandoned it! Life, with its twists and turns, has kept me quite busy, making it impossible to give this project the love it deserves. But that little itch was still there, just waiting for the right moment.
A few months ago, I had a small but significant breakthrough when I fixed the inverted CS signal issue. With that victory in my pocket, I felt like the hardest part was over and that implementing the driver itself would be a piece of cake. Oh, how wrong I was! The development itself was quick, yes, but the testing phase…
The first major problem: systemd and the vicious cycle
With my confidence sky-high, I compiled the driver and rebooted my Raspberry Pi to test it. And that’s when the drama began. The screen would flicker, artifacts would appear, and then, suddenly, I’d lose the connection. Upon rebooting, the exact same thing would happen. The system would boot, my buggy driver would try to load, and the entire system would crash. I was completely locked out.
The culprit was systemd, which, by starting in the graphical target, loaded my faulty driver without giving me any time to react. It took a good amount of time and frustration to figure this out. The solution came from an old friend: the UART debug port. By connecting directly to the Raspberry Pi, I was able to see the kernel’s error messages, disable the graphical boot, and finally get a stable environment to debug in. First battle won!
Display challenges
Once I could finally test the code without everything exploding, I ran into the display-specific problems. They were like little puzzles waiting to be solved.
- The case of the double-sized screen: I noticed strange, nonsensical characters appearing on the display. After much review, I realized my mistake: a silly error in calculating the
dst_pitch(the length in bytes of a horizontal line) made the system think the screen was twice as wide as it actually was. I was essentially trying to cram twice the information into the same space. No wonder the poor thing was going crazy!
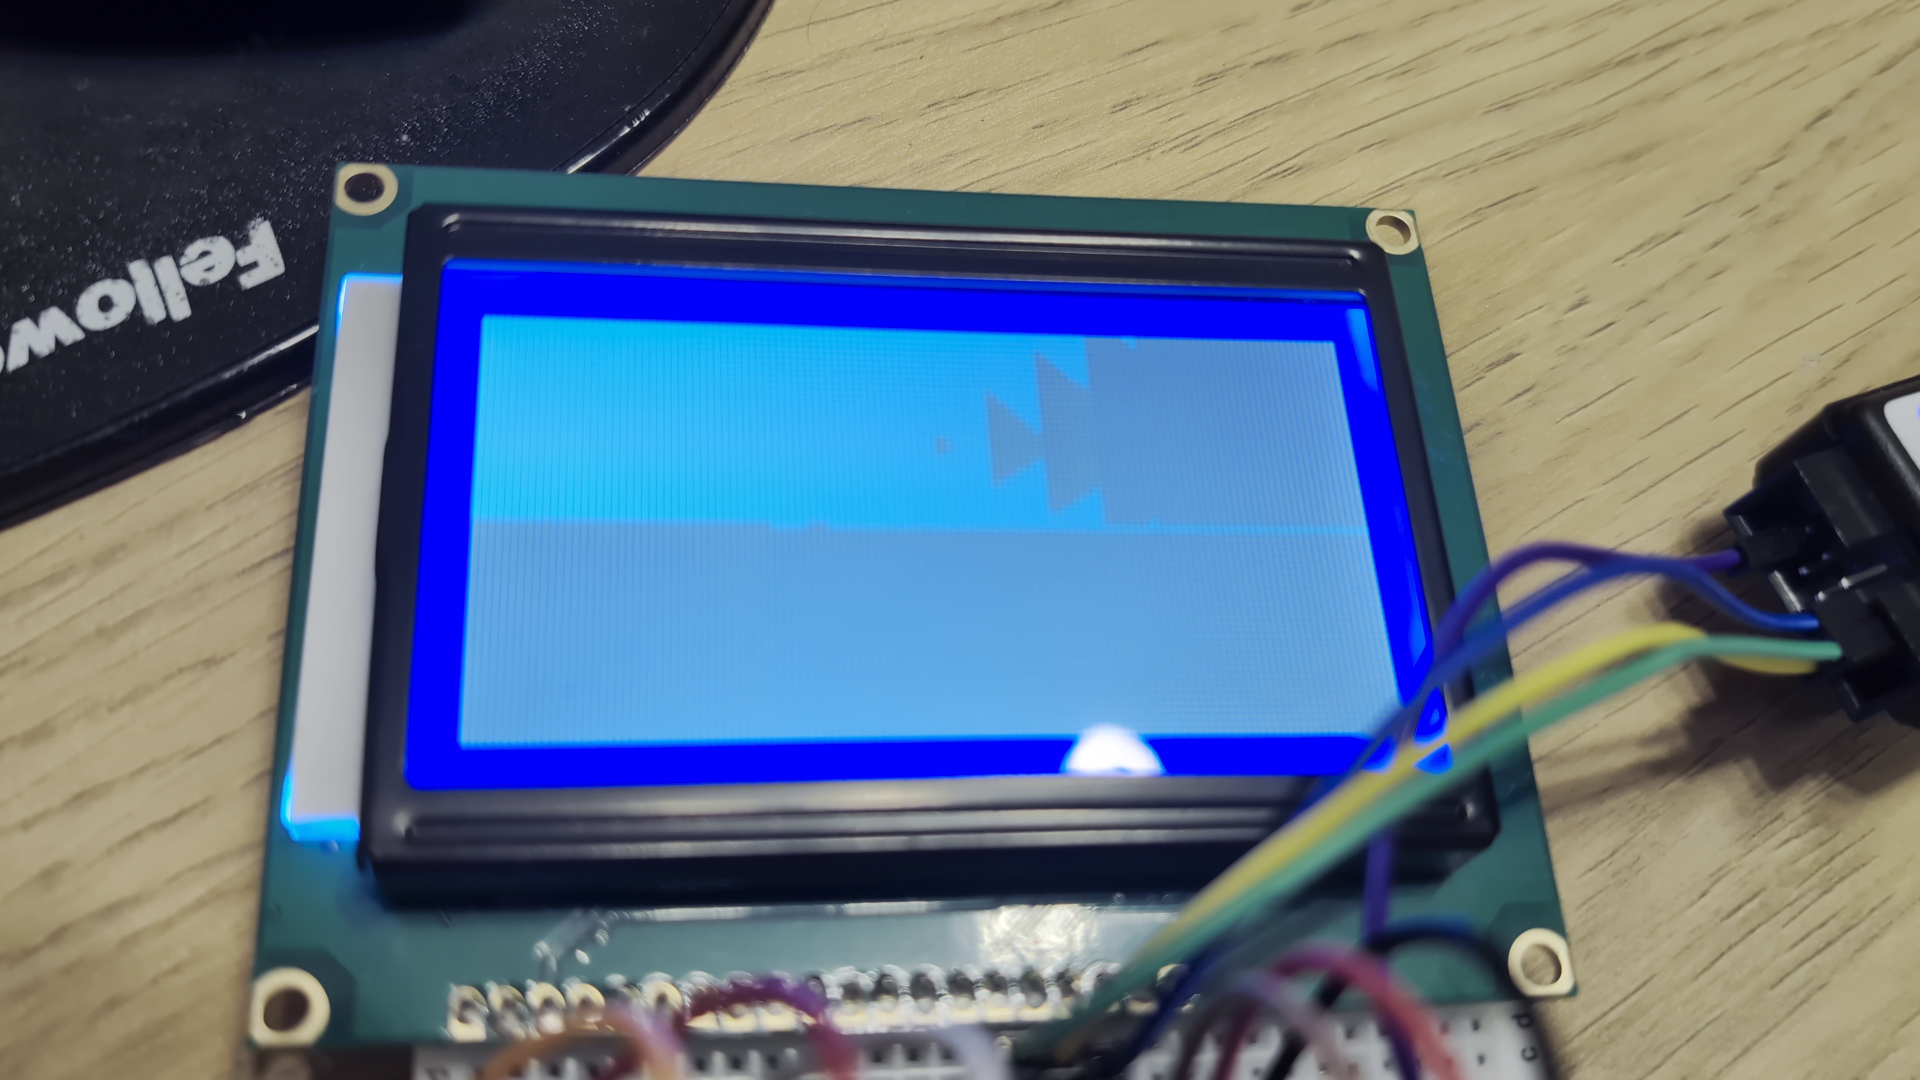
- The mystery of the bottom half: once the size was corrected, I found that only the top half of the screen was displaying anything coherent. The bottom half was just black. Here, I ran into a classic issue: ambiguous documentation. The memory addressing for the second half of the display was different, and the datasheet didn’t explain it. At this time I decided to load the user-space driver and check how it worked, once I found it, it was quite easy to show something on the entire screen.
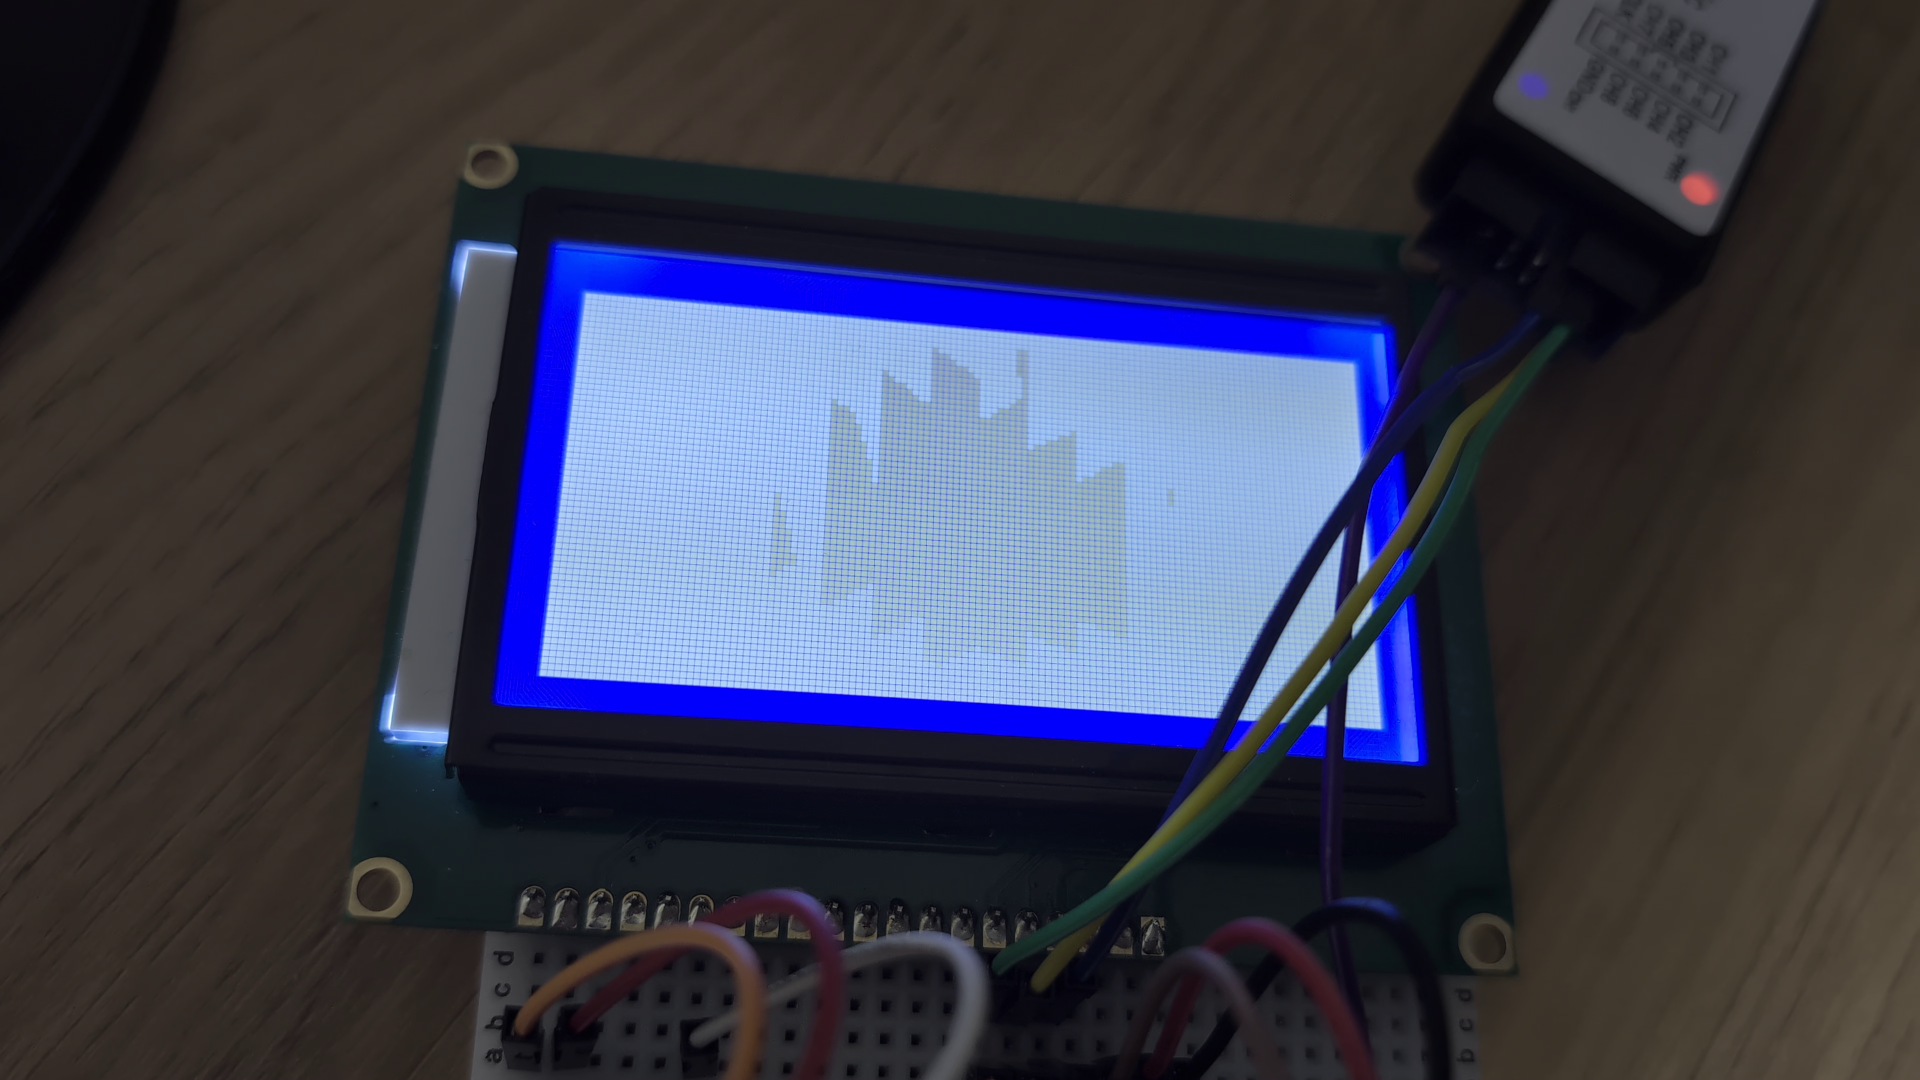
- The final touch: just when I thought I had it all figured out, I noticed that although the screen was showing something the shapes were not entirely correct. One last hardware quirk: the bytes had to be sent in reverse order (bit 7 to bit 0 instead of 0 to 7) for the display to interpret them correctly. One small tweak, and finally, the text was perfectly legible.
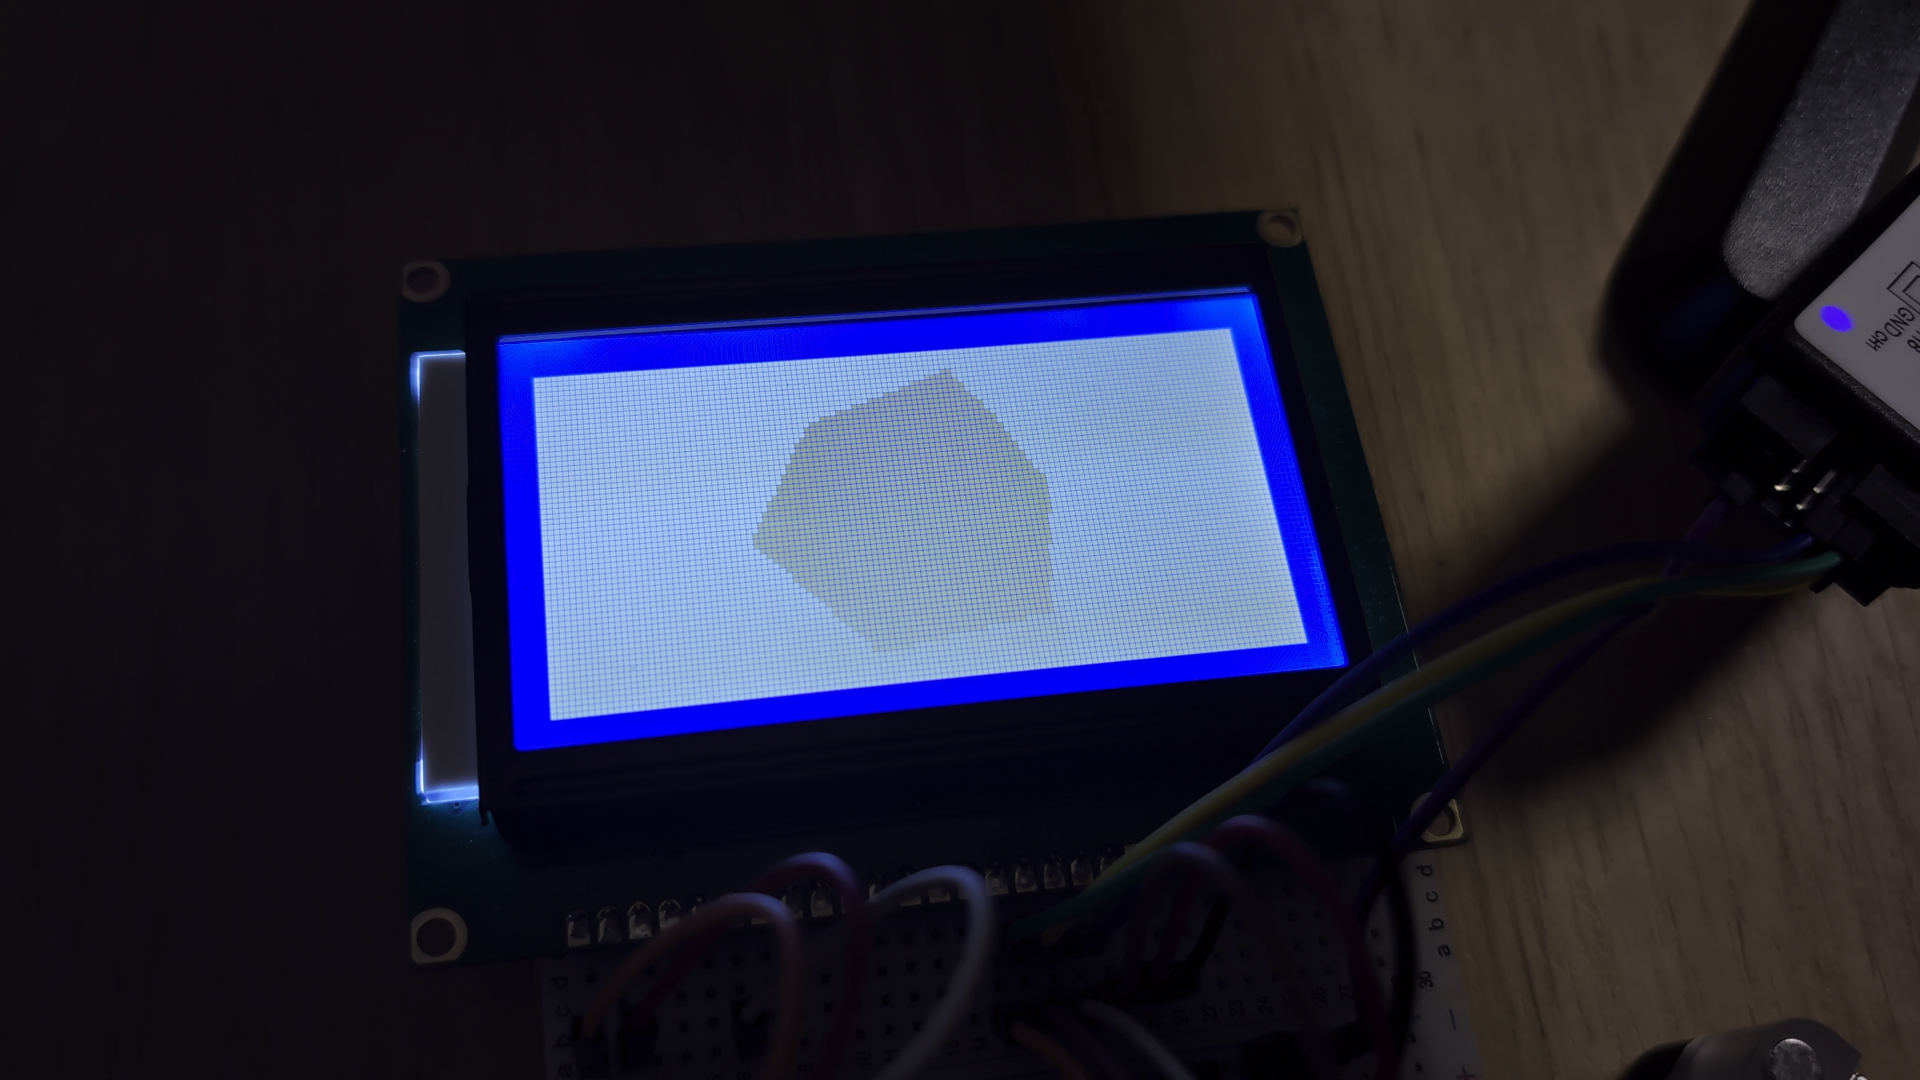
It’s alive!
After this whole battle—fighting with the boot system and deciphering the display’s secrets—the moment of truth arrived. Seeing the command kmscube -D /dev/dri/card1 actually work, drawing a perfectly stable cube on the screen, was an incredible feeling. 🚀 It wasn’t just simple text, but a small graphical figure that proved all the hard work on addressing, timing, and data correction had paid off.
It’s a reminder of why we get into these messes: for the satisfaction of overcoming each challenge, understanding how things work at a low level, and finally, seeing the result of our effort come to life on the hardware.
There’s still work to do, like cleaning up the code and polishing the details, but the hardest part is now over. Thank you for your patience and for sticking around. More news to come soon!
Next
A Kernel story X: Submitting the patch series